Why Central Coast Evenings Call for Fire Pits
There’s something about those cooler Central Coast evenings that makes you want to be outside. You’ve got that amazing coastal breeze, maybe the sound of waves in the distance, and the perfect weather for gathering around a fire. Problem is, most people end up heading inside once the sun goes down because it gets just that bit too chilly to stay comfortable on the deck or patio.
A well-designed fire pit becomes the centrepiece of your entertaining area – the spot where everyone naturally gravitates to, where conversations happen, where you end up spending way more time outdoors than you ever thought you would.
What We’ve Learned Installing Fire Pits Locally
We’ve been installing fire pits across the Central Coast for years now – everything from simple steel ring setups in Terrigal backyards to elaborate built-in stone features in Avoca Beach properties. What we’ve learned is that there’s no one-size-fits-all solution. Your fire pit needs to work with your space, your lifestyle, and honestly, your budget. Some people want a quick weekend project, others are after that premium built-in feature that becomes a permanent part of their landscape design.
It’s Not as Simple as Digging a Hole
The other thing we’ve noticed is that fire pit installation isn’t quite as straightforward as people think. There’s safety clearances to consider, council regulations to navigate (especially regarding smoke in residential areas), material choices that need to handle our coastal conditions, and design decisions that affect how you’ll actually use the space.

Your Fire Pit Options for Central Coast Properties
Built-In Stone Fire Pits
These are permanent, high-end fire pits made with natural or stacked stone. They look stunning, add long-term value, and last for decades when properly built. They use materials like sandstone or bluestone with a fire-rated liner. The downside: they’re the most expensive and placement can’t be changed later—best for homeowners committed to a long-term outdoor design.
Steel Ring Inserts
Durable, affordable, and quick to install, steel rings are set into the ground and can be left as-is or surrounded with stone later. They handle coastal conditions well and retain heat efficiently. Great for staged landscaping projects, they offer a proper fire pit experience without the cost of a full stone build.
Gas Fire Pits
Gas fire pits offer instant flames, no smoke, no wood storage, and easy cleanup. They’re ideal where smoke restrictions apply and allow flexible modern designs. While convenient, they lack the traditional campfire feel and have ongoing fuel costs.
Wood-Burning vs. Portable Options
Wood-burning fire pits offer the classic fire experience—real warmth, crackling sounds, and natural scent. Portable fire pits are inexpensive and movable but less durable in coastal areas and not suited for long-term landscaping. They’re acceptable for testing placement before committing to a permanent installation.
Material Choices That Handle Coastal Conditions
Natural Stone That Lasts
Coastal environments demand durable materials, and natural stone is the most reliable choice. Sandstone, bluestone, and granite resist salt air, don’t rust, and age beautifully. Dense, low-porosity stone should be used near heat, while softer stone works best for outer walls when paired with a heat-resistant liner.
Concrete Blocks and Fire Bricks
Most built-in fire pits rely on fire-rated blocks or refractory bricks to form the heat-resistant inner chamber. These materials withstand extreme temperature changes without cracking. Regular bricks fail quickly, so using proper fire bricks and fire-rated mortar is essential for long-term durability.
Steel Components and Rust Resistance
Steel used in coastal fire pits must be marine-grade or heavy-gauge to prevent rust. Thin or cheap steel deteriorates quickly in salty air. For inserts, 6–10mm steel performs best. Powder-coated or Corten steel fire bowls also work well, with Corten developing a protective, weathered finish.
Coping Edges and Finishing Details
Coping stone adds protection and style, preventing water penetration and offering a comfortable edge around the fire pit. Thick sandstone or bluestone with a slight overhang provides durability and a polished look. Steel or concrete coping can suit modern designs but generally gets much hotter than stone.

Fuel Choices and What They Mean for Your Setup

Wood-Burning Ambiance and Reality
Wood fires offer the classic crackle, warmth, and authentic atmosphere people love. They produce strong radiant heat—ideal for cool Central Coast nights—but require more effort. You need to store seasoned hardwood, manage ash cleanup, and deal with smoke depending on wind. Proper storage is essential, and hardwoods like ironbark or spotted gum work best for long, clean burns.

Gas Convenience and Control
Gas fire pits offer instant ignition, adjustable flames, and zero ash or wood storage. They require gas line installation or space to hide LPG bottles, but they’re clean, low-smoke, and easy to shut off. Running costs vary, but natural gas is usually cheaper than LPG. Gas is a great option for suburban areas with smoke restrictions or for people who want low-maintenance use.

Smokeless Options and Modern Tech

Flame Control and Usage Patterns
We can do many things for your backyard including Fire pit installation landscaping lawn replacement retaining walls
Designing Your Fire Pit Space
Seating Arrangements That Work
A fire pit needs proper seating to function as a true gathering space. Circular or semi-circular seating ensures everyone feels the warmth and stays part of the conversation. Built-in stone benches create a permanent, comfortable zone, while freestanding furniture offers flexibility but requires storage and maintenance.
Circular Layouts and Intimate Spaces
Circular designs create the most natural, social atmosphere, usually using a 3–4m diameter to balance space and warmth. Square or rectangular pits suit modern homes but lose some of that cosy campfire feel. Defining the area with paving, levels, or low walls helps make the fire pit feel like its own outdoor “room.”
Integration with Patios and Decks
Fire pits should complement your existing patio or deck. On paved areas, they can be integrated into the layout with matching or complementary materials. Timber decks need fire-safe separation, often through a dedicated stone or paver section. Multi-level designs—like stepping down from a deck to a fire pit zone—create natural flow and clear gathering areas.

Building Seating Zones Around the Fire
Built-In Stone Benches
Permanent stone benches create a resort-style outdoor room and keep seating at the perfect height and distance from the fire. Built at around 450mm high and 500mm deep, they’re comfortable, sturdy, and naturally warmed by the fire and sun. Designs usually follow the fire pit’s shape—curved, L-shaped, or full-circle—with matching stone and smooth coping on top. They define the space beautifully and require no setup, but they offer no flexibility for rearranging.
Freestanding Furniture Placement
Movable outdoor furniture allows you to adjust for group size, wind direction, or different gatherings. Cast aluminium or quality all-weather wicker works well in coastal conditions. Seating is ideally placed 1.5–2 metres from the fire for optimal warmth, and low-back chairs prevent blocking heat. Side tables or a central table help manage drinks and food while keeping the area functional.
Creating Intimate Gathering Spaces
A great fire pit space feels cosy and inviting, like an outdoor room. Scale, subtle boundaries, and warm lighting help create that intimate atmosphere. Soft path lights and gentle uplighting maintain the mood without overpowering the fire’s glow. Good acoustics naturally support conversation, and the area should feel like its own dedicated nighttime zone through different levels, materials, or landscaping.
Dealing with Central Coast Coastal Factors
Wind Protection Strategies
Coastal winds can affect fire pit performance, so creating wind breaks is essential. Fencing, planted screens, low walls, or glass panels help reduce wind without blocking airflow. Positioning the fire pit near existing structures or sheltered areas also improves usability. Raised edges or low stone walls help stabilize the flame, and for highly exposed properties, gas fire pits offer better flame control than wood-burning ones.
Rust-Resistant Materials and Longevity
Salt air quickly damages low-quality materials, making proper selection crucial. Marine-grade 316 stainless steel is the most durable option, while thick, powder-coated mild steel provides a mid-range alternative. Natural stone and concrete excel in coastal environments since they don’t rust. All hardware should be stainless or bronze to prevent rapid corrosion.
Salt Air Durability
Coastal exposure affects not only metal but also mortar, sealers, and timber. Salt-resistant mortar, UV- and salt-resistant sealers for nearby paving, and durable hardwoods like spotted gum or ironbark ensure longevity. Overall, coastal designs require materials that withstand constant salt exposure—cutting corners leads to early failure.
Beach House Aesthetic Integration
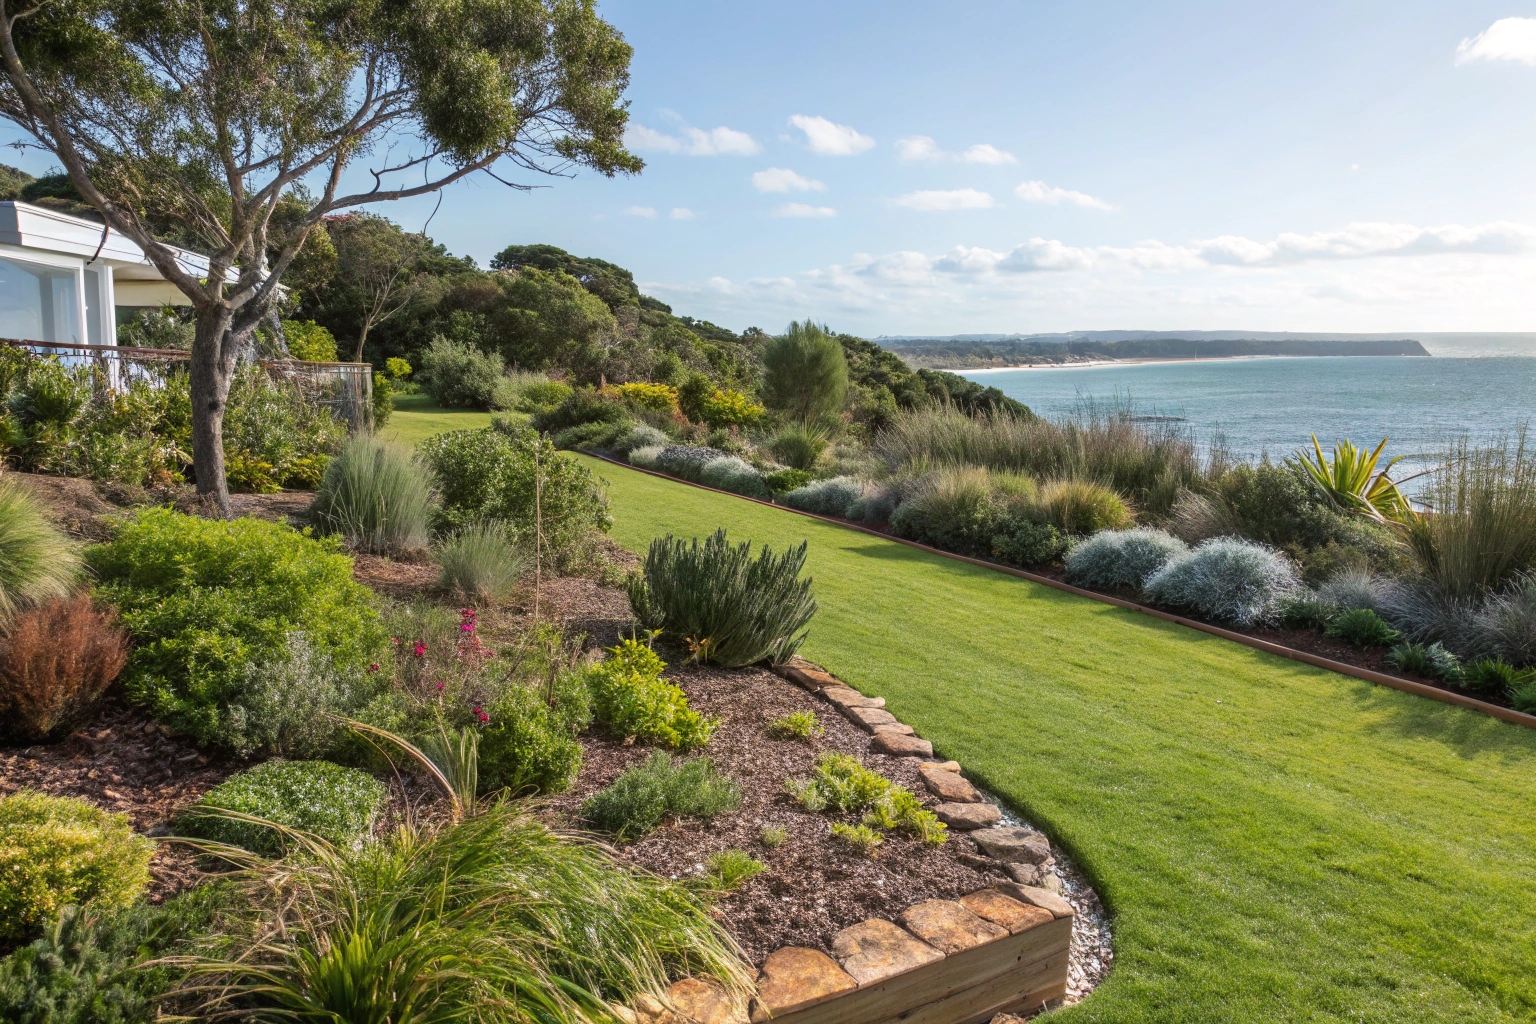
Fire pits should blend with the relaxed coastal style of Central Coast homes. Natural materials like sandstone, beach pebbles, and weathered timber complement the setting, paired with soft coastal colour palettes of blues, greys, and sandy tones. Native coastal plants, planters, and minimalist designs suit both classic and modern beachside architecture, helping the fire pit feel like an authentic part of the landscape.

Call us at (07) 4351 4011 or …
Extra Features That Enhance Your Fire Pit
Cooking Grates and Outdoor Cooking
Many homeowners want a fire pit that can also serve as a cooking area, but this must be planned during the design phase. Options include swing-arm grates, adjustable grills, and even full parrilla systems. Wood-fire cooking requires proper coal beds, temperature control, and suitable fuels, so many people still rely on their BBQ for actual cooking. If cooking is a priority, we size and position the fire pit accordingly and ensure nearby space for prep and serving.
Wood Storage Solutions
Built-in wood storage makes the fire pit area far more convenient. We create stone or timber compartments, weatherproof boxes, or open cubbies that keep wood dry and accessible while staying safely distanced from the heat. Storage size depends on how often you burn. Done well, wood storage doubles as a design feature and can help define the fire pit zone.
Surrounding Paving and Pathways
Paving around the fire pit boosts safety, function, and visual appeal. We usually extend it 1.5–2 metres beyond the fire pit. Materials should complement the design—whether sandstone, stacked stone, or large-format pavers. Textured surfaces prevent slips, and proper grading ensures drainage. Connecting pathways must be level, well-lit, and safe for carrying food or drinks.
Ambient Lighting Integration
Good lighting sets the mood and ensures safety. Since the fire is the main light source, added lighting should be soft and indirect. We use path lights, uplighting on trees or walls, and step lights for any level changes. Festoon lights can add atmosphere when appropriate. We avoid harsh overhead lights that ruin the ambiance. Separate lighting circuits, dimmers, and smart controls allow easy adjustment so the fire remains the focal point.
Frequently Asked Questions About Fire Pit Installation
You’re looking at anywhere from $2,500 for a basic steel ring setup with gravel surround, up to $15,000-$25,000 for a full built-in stone fire pit with integrated seating and surrounding paving. Most of our Central Coast clients end up in the $6,000-$12,000 range for a proper permanent installation with quality materials that handle coastal conditions. The big cost variables are size, materials (natural stone costs more than concrete blocks), and how much surrounding hardscape you’re including. We always provide detailed quotes upfront so there’s no surprises – nobody wants to get halfway through a project and find out it’s going to cost double what they thought.
A straightforward steel ring or prefab installation can be done in 1-2 days once materials arrive. Built-in stone fire pits with surrounding paving typically take 5-7 working days depending on complexity and weather – and yeah, rain delays happen on the Central Coast, especially in winter months. If you’re doing this as part of larger landscaping works (retaining walls, decking, full garden renovation), we’re talking 2-3 weeks for the complete project. The design and planning phase before we start digging usually takes 1-2 weeks – this is where we sort out placement, materials, council requirements if needed, and make sure everyone’s on the same page before committing.
Honestly, not as much as you’d think if it’s built properly with the right materials. You’ll need to clean out ash after each use (or every few uses if you’re burning regularly), check mortar joints annually for any cracks that need repointing, and give stone surfaces a scrub once or twice a year. Steel components might need a wire brush and touch-up paint every couple of years if surface rust appears – this is just reality with Central Coast salt air even on quality materials. The biggest maintenance is actually keeping the surrounding area clear of leaf litter and making sure drainage stays functional so water doesn’t pool around the base.
Light rain or drizzle won’t stop a well-established fire, but you’re not going to have a great time sitting around it getting wet. The bigger issue on the Central Coast is getting fires started after rain – everything’s damp and you need dry kindling to get going. If your fire pit has good drainage and the base doesn’t turn into a puddle, you can usually get a fire going within a day after rain stops as long as you’ve got dry wood stored properly. Gas fire pits work fine in light rain since there’s no kindling or ash issues, but again, sitting outside in the rain isn’t most people’s idea of a good time regardless of whether the fire’s burning.
Yeah, definitely – quality outdoor entertainment areas consistently add value to Central Coast properties where the climate supports year-round outdoor living. Real estate agents tell us that well-designed fire pits can add $10,000-$20,000 to property value, sometimes more if it’s part of a complete outdoor transformation. The caveat is it needs to be done properly with quality materials and good design – a dodgy DIY job or cheap setup that’s already rusting won’t add value and might actually hurt it. Think of it as an investment in lifestyle that also pays off financially, especially for the 35-55 year old buyers who are your typical Central Coast market and specifically looking for outdoor entertaining features.
Spring and early summer (September through December) are ideal for fire pit installation on the Central Coast – the ground’s workable, weather’s generally cooperative, and you’ll have it ready for cooler months when you’ll actually use it most. We can work through winter but there’s more weather delays and the ground can be boggy after rain which complicates excavation. Summer works too but everyone’s busy with landscapers being in peak season, so you might wait longer for scheduling. Honestly though, if you’re ready to go, we’d rather get started whenever suits your timeline rather than waiting months for “perfect” conditions – we work around weather regardless.
They can be if you set proper rules and design with safety in mind. We recommend spark guards for wood-burning fire pits, surrounding hardscape that creates a clear boundary (so kids aren’t running through garden beds right near the fire), and establishing a “no running near the fire pit” rule from day one. For families with young kids (under 5), some clients wait a few years before installing, or they go with gas fire pits where you can instantly shut it off if needed. The Central Coast families we work with generally find fire pits become positive gathering spots – kids love them for marshmallow roasting and winter warmth – but supervision’s non-negotiable just like with pools or BBQs.